Removing and Replacing your Headlights
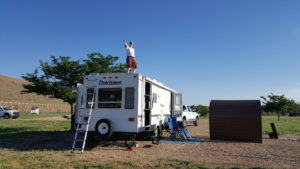
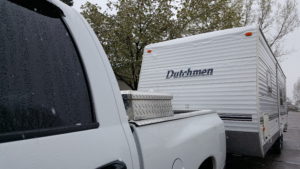
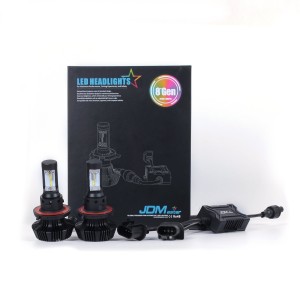
Upgrading our tow vehicle to LED headlights was crazy easy. You can read more about why we chose these particular LED headlights in our post on the topic here. Our two vehicle is a 2006 Dodge Ram 2500, so the steps for your vehicle may vary, but the idea will be pretty much the same across most vehicles. Once the lights arrived from Amazon it was time to get busy.
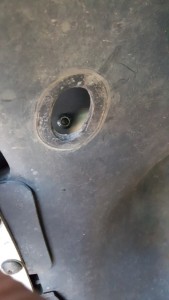
The first step was to remove the existing headlamp assemblies. These headlights have two torx screws on the front, right behind the front grill and one nut hidden behind a dust cover in the wheel wells. I chose to remove the nut first then go after the torx screws.
The dust cap comes out fairly easily, just grasp the edge of the cap and peel it back. Set it aside and grab your socket set.
 You’ll
 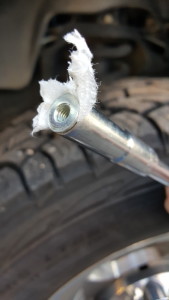 need an extension for this job, and here is an awesome trick to keep from dropping that nut into the abyss behind the fender well: Stuffing a small piece of paper towel into the socket will make the nut fit quite snug, and stay firmly in the socket as you pull it away from the access hole.

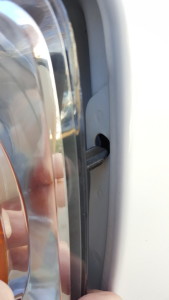
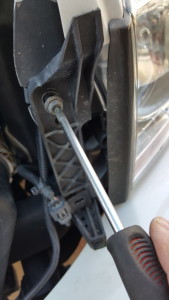
The headlight is retained in place by a small clip near the top and aligned by a small plastic pin on the side.
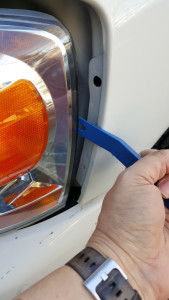 To protect the finish of the vehicle and avoid damage to the headlamp assembly, I used a body panel tool
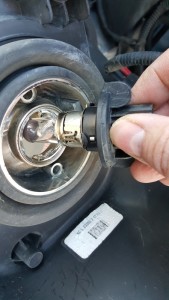
The headlamp is now free, attached only by the wires for the headlamp and side marker light.
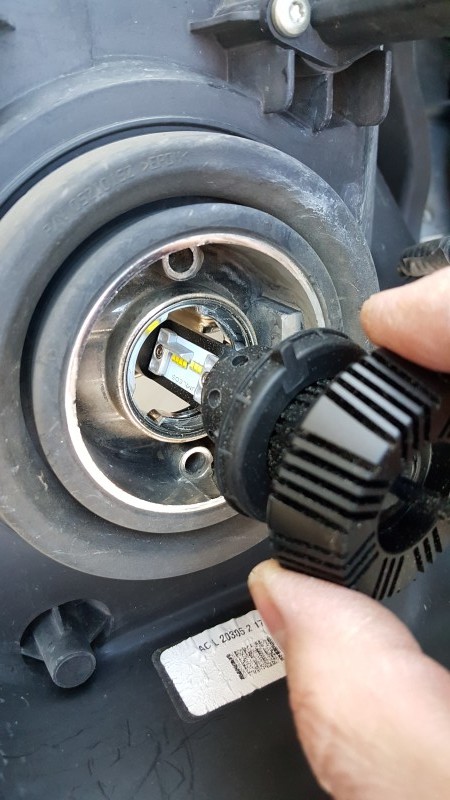
Next up I removed the plug from the back of the lamp then with a gentle twist unlocked the lamp and pulled it free and set it aside as an emergency spare.
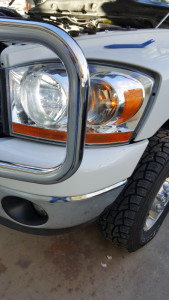
The LED headlight replacement goes in, and see that heatsink I am holding the LED by, we’ll be turning that later when we adjust our light pattern.

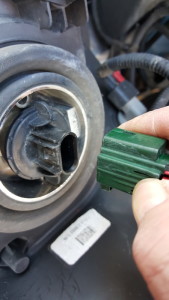
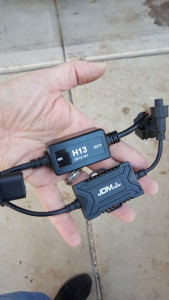
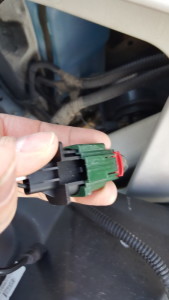
Our LEDs came with these modules that allow the new lights to work properly with the car’s computer system. Without the adapters, the lights flash three times and then turn off. The vehicles power plug that was removed from the original bulb get’s plugged into the module then the module is plugged into the LED light. I found a proper location in the engine compartment to then secure the module with wire-ties. I chose to use extra ties for redundancy.
I pushed the headlight assembly back in place, and turned them on before reattaching the screws and nut.
Let’s Fine Tune those LED Headlights
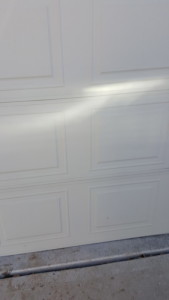
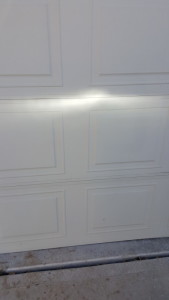
Now lets align that light pattern. In the first image the light pattern looks like a doughnut, meaning that the light is 90 degrees off of where it should be. As the heatsink was rotated, the light pattern gradually became two lines as shown in image 2. Image number 3 shows proper alignment of the LEDs. Flash between your low beams and high beams to make sure the are working as expected. If they are reversed, rotate your heatsink 180 degrees and realign until correct. If your lights came with a set-screw to keep them in place, this is the time to tighten that up. Now we can put the screws and nuts on the assembly, insert the rubber dust cap in the wheel well and move on to the other side. Don’t forget to use a bit of paper towel to hold the nut in the socket when you put that nut back through the wheel well.

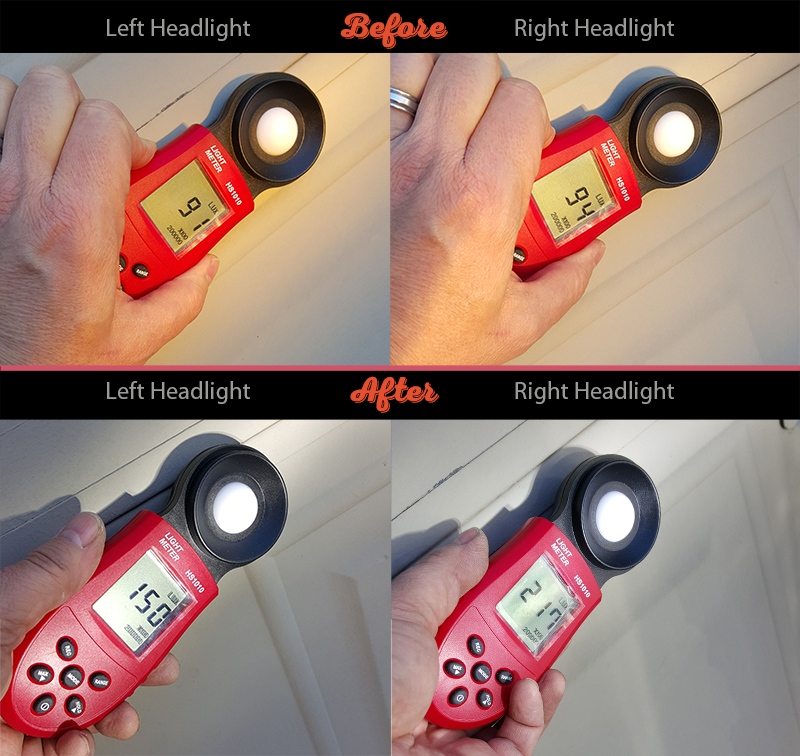
We saw a significant improvement in light output, detail and color vision with this upgrade. I invite anyone who is concerned about night-time driving and safety to consider this easy mod to LED headlights for their tow vehicle.
Feel free to leave your questions and comments below and happy travels!